![PlanetBids_Logo-Default.png]](https://training.planetbids.com/hs-fs/hubfs/PlanetBids_Logo-Default.png?height=40&name=PlanetBids_Logo-Default.png)
AI Insurance Certificate management saves time and helps you upload and manage your insurance certificates in a more streamlined fashion.
Note: You can still upload your Insurance Certificates the traditional manual way
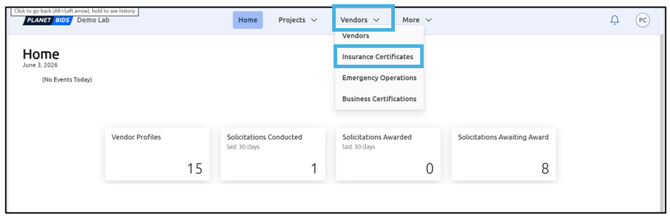
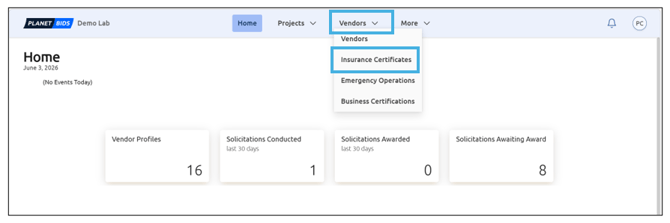
To add an Insurance Certificate, click Vendors, then Insurance Certificates from the top menu:
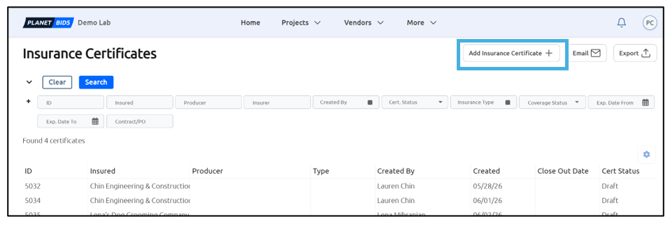
Click Add Insurance Certificate:
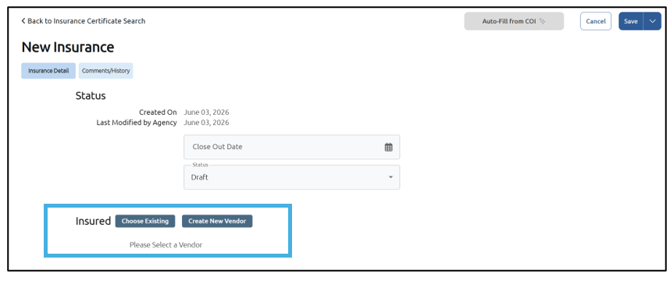
Select an Existing Vendor or Create a New Vendor:
Once you have selected or added your vendor, click Save:
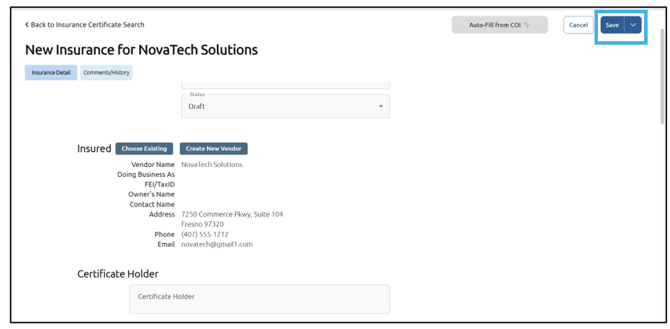
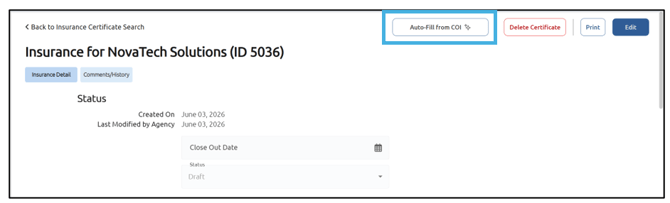
You can now auto-fill the rest of the Insurance Certificate information using AI. To do so, click Auto-Fill From COI:
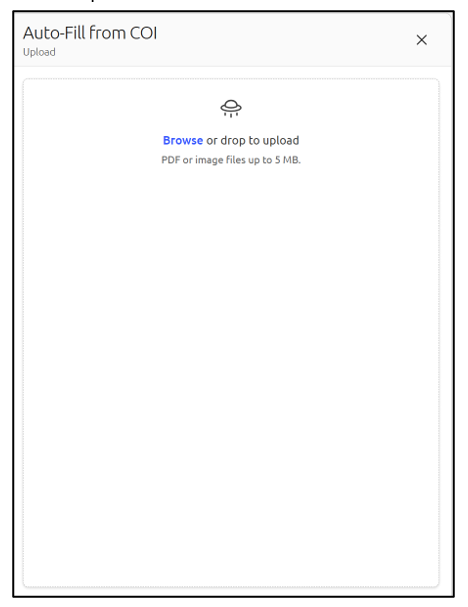
Browse your computer and select the Certificate of Insurance you wish to upload, or drag and drop it into the box:
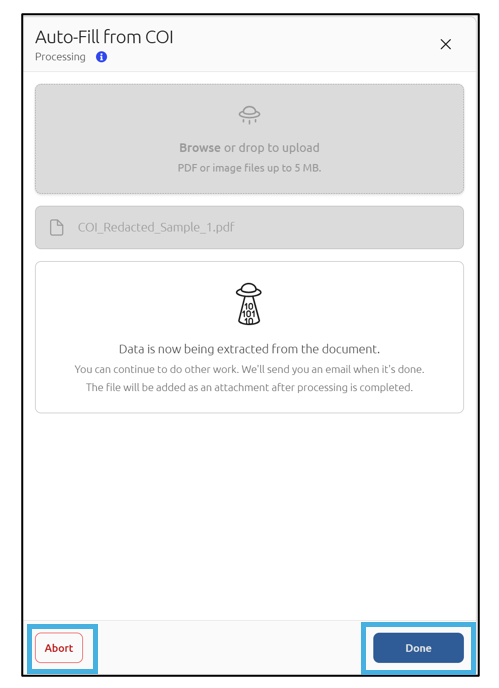
Your data will then be extracted from the document. This will take a few moments. To exit and work on other items, click Done. You can also choose to Abort :
When the Insurance Certificate has been processed and is ready, the COI Processing Ready button will appear in green. Click to view:
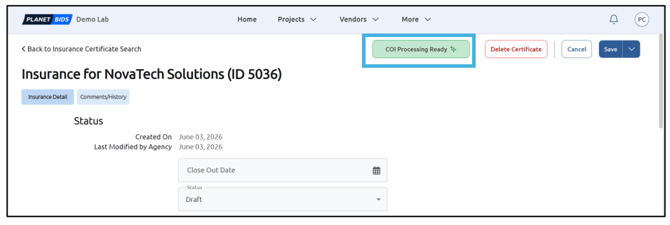
An email will also be sent when the Insurance Certificate is processed. This usually takes a minute or so.
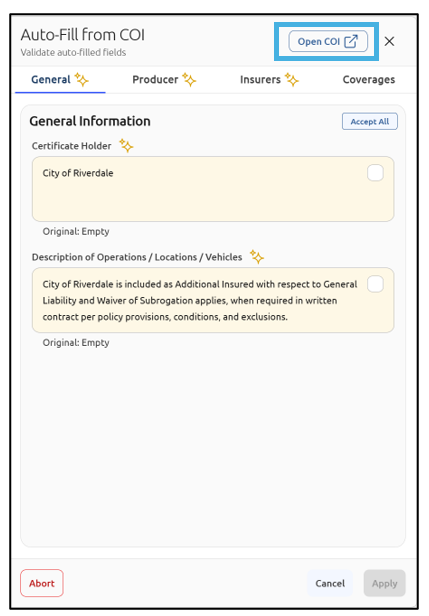
Once the certificate has been processed and you’re viewing the auto-filled information, you can open the uploaded certificate in a new browser tab to compare and verify it. Click Open COI:
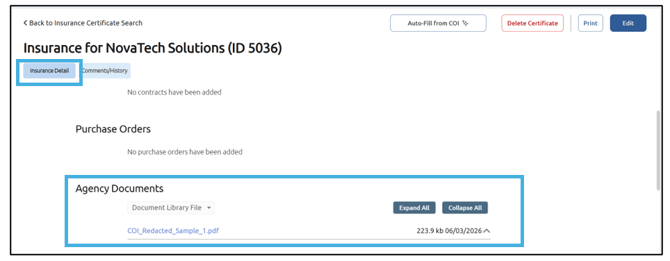
You can also view the uploaded Insurance Certificate form in the Insurance Certificate Details tab, Agency Documents section:
Note: If any information doesn’t match or contains an error, a warning dialog will appear. We currently only accept ACORD 25 documents. If a document is uploaded that is not an ACORD 25 document, an error will appear:
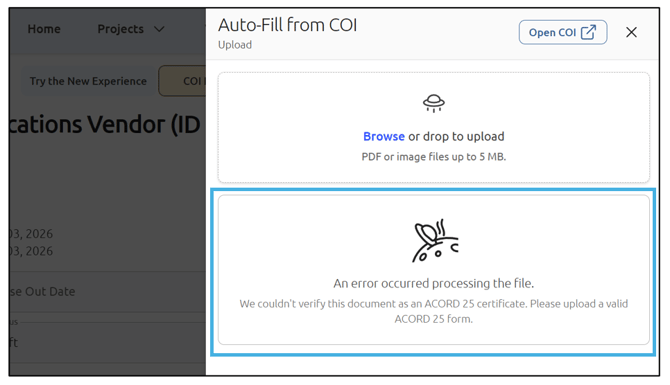
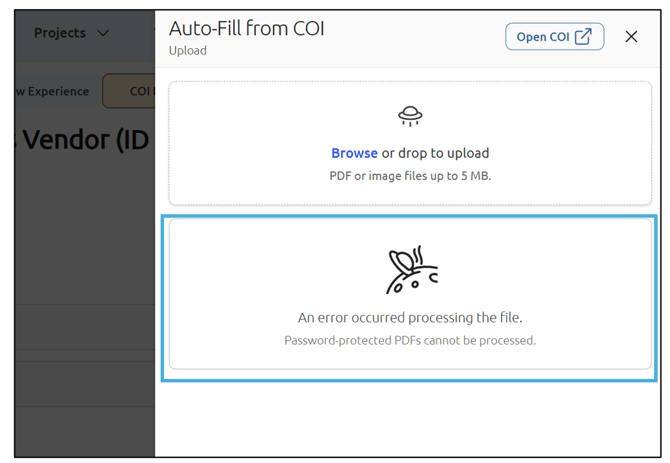
Additionally, we cannot do AI extraction on a password-protected PDF. If someone uploads a password-protected document, they will receive this error message and must upload insurance details manually:
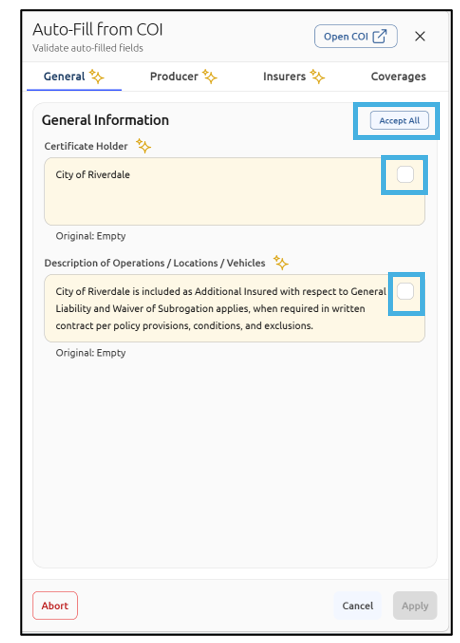
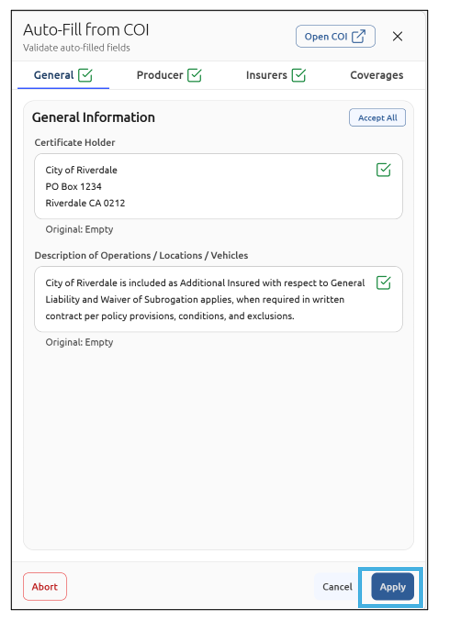
Verify the information in each field against the uploaded Certificate of Insurance. If information needs to be updated in any field, click the field and add/remove information. Once you have finished verifying the information within each field, click the check box individually, or click Accept All:
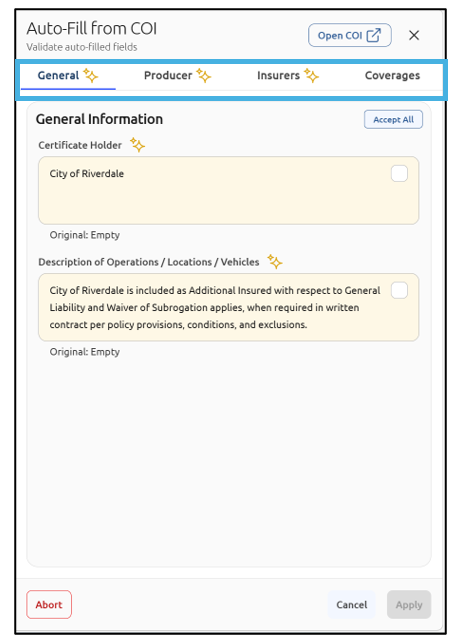
Repeat this for the Producer, Insurers, and Coverages tabs across the top of your Auto-Fill fields, filling in or updating any information that may need tweaking:
For Coverages, you will want to compare the coverages listed in this tab to the information on the Certificate of Insurance to ensure accuracy:
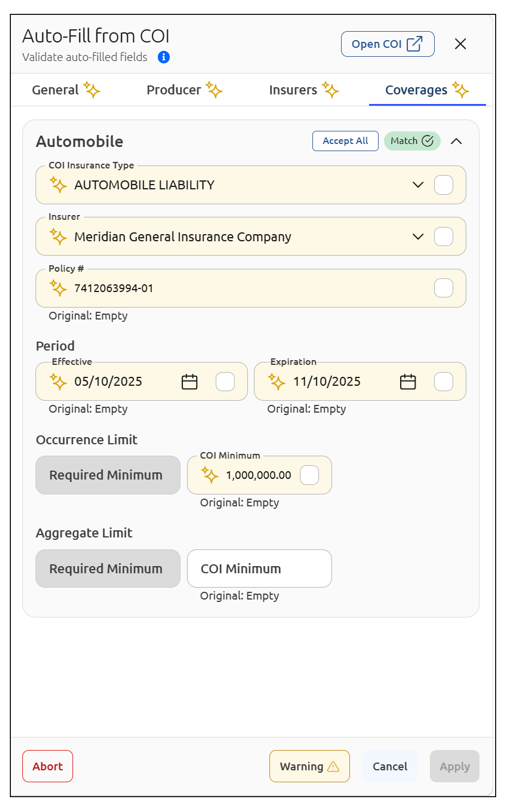
You can update anything that might not have come over correctly by typing in the box or using one of the drop-down options.
If the field is correct, use the checkbox to accept or click Accept All:
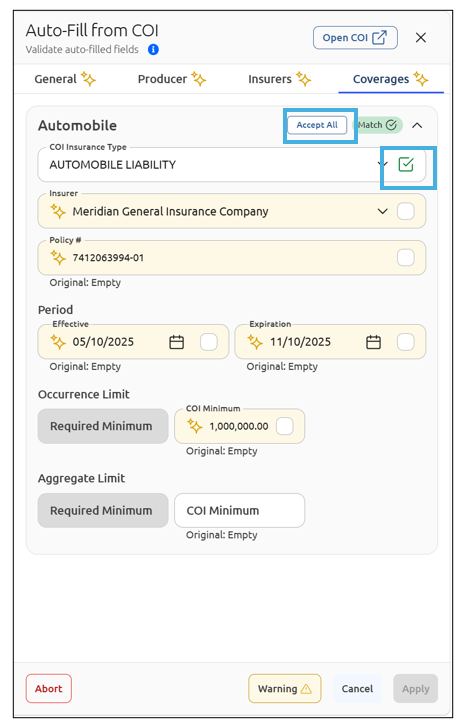
If you have multiple coverages, you will need to accept each section.
Note: If you are creating a brand new insurance certificate record and not editing an existing one, you may receive the following:
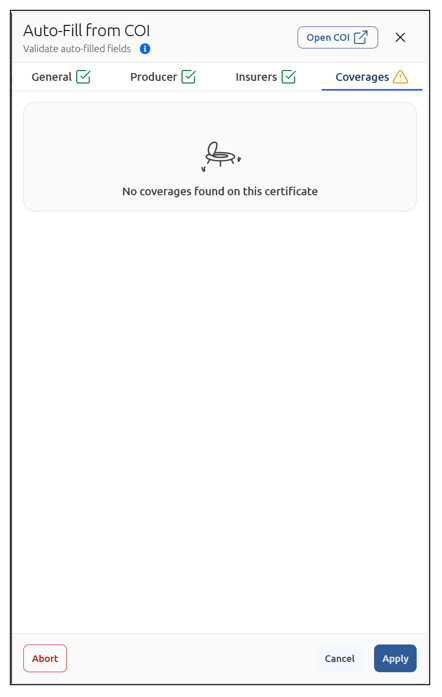
Scroll to the Coverages section and either add a coverage or add from a template:

Adding one coverage will prompt all listed coverages to then be captured by AI.
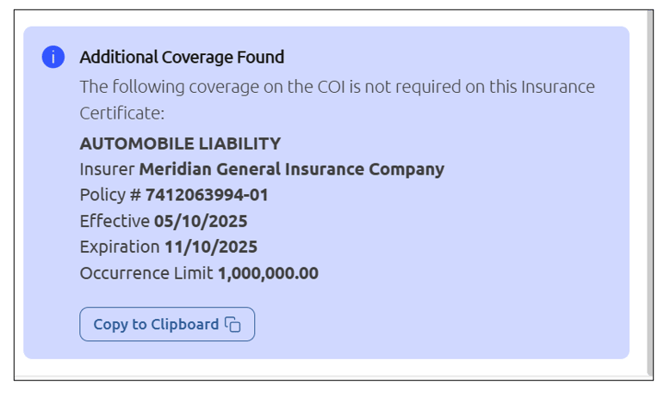
If additional coverages are found, you can copy to the clipboard and paste into a Word document to add to the coverages section later:
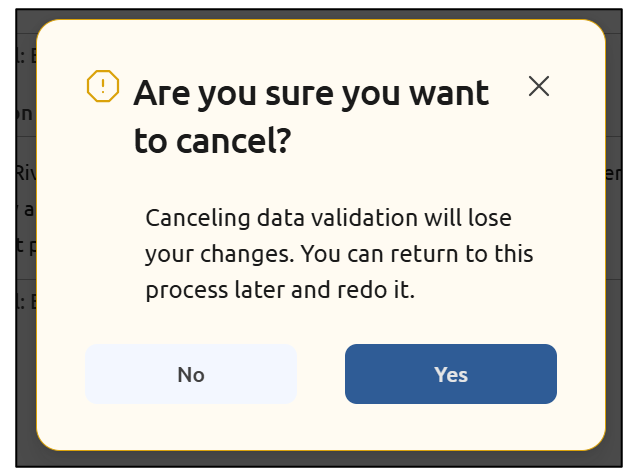
Note: If you click Cancel or X at any time during this process, a warning will pop up alerting you that all changes will be lost and you’ll have to return to the process later and redo it:
Once you’ve reviewed and accepted the information in the tabs across the top, click Apply (this is only available after all changes have been accepted):
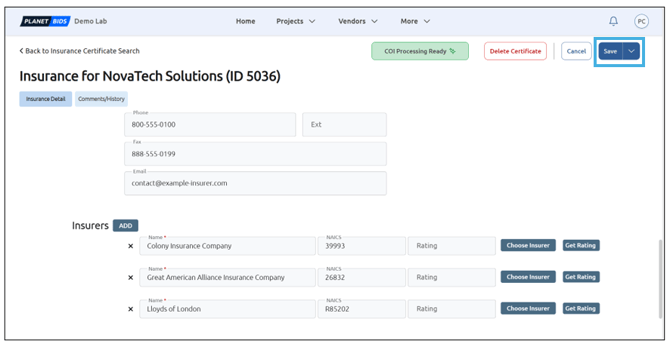
Once you have finished updating the Insurance Certificate Information, click Save:
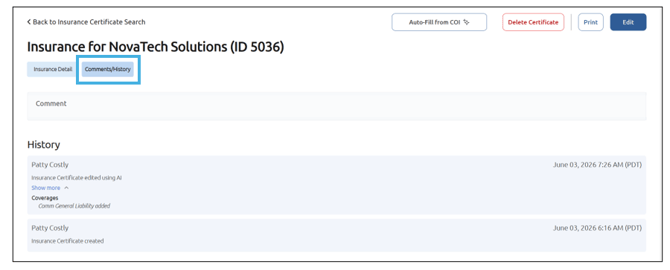
To view an audit trail for your Insurance Certificate, click Comments/History:
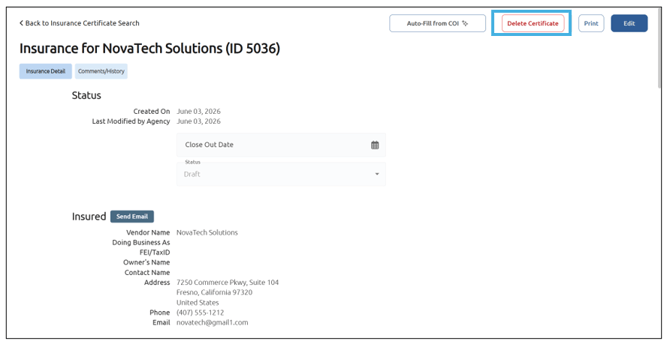
To delete the Insurance Certificate, click Delete Certificate:
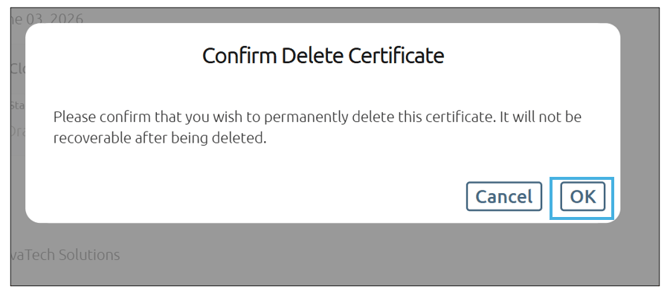
Confirm that you wish to delete the certificate by clicking OK:
To edit or update an existing Insurance Certificate, go to Vendors and then Insurance Certificates from the main menu:
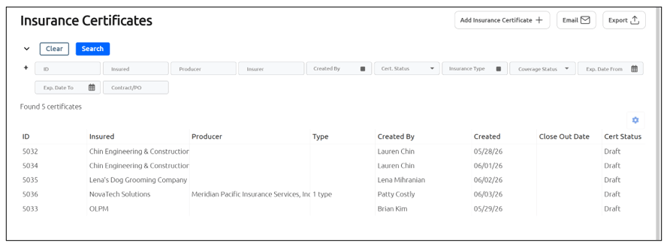
Select the Insurance Certificate you wish to update from the list:
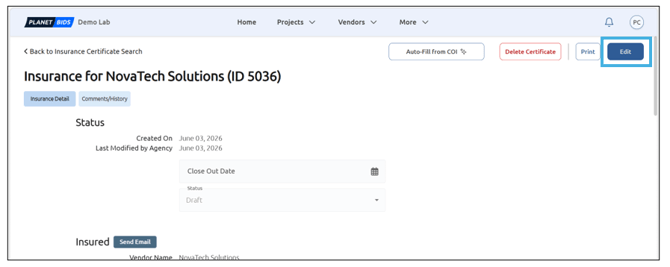
Click Edit to make updates or changes to the Insurance Certificate: