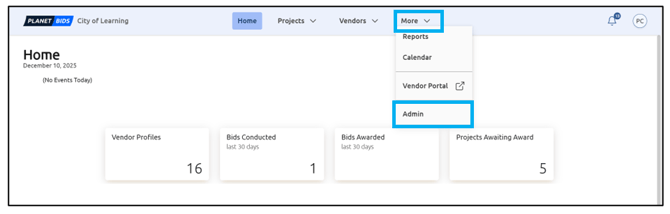
Users with permission to customize fields in the Request Form (see Admin Settings for Requests) can change the display and requirements in certain cards within the form. To access this, click More and Admin from the top menu bar:
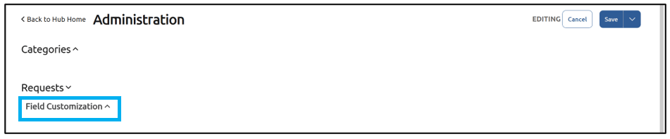
Click Requests to expand:

Then click Field Customization:
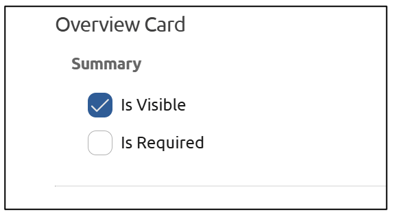
Is Visible means that the field will be shown on the form.
Is Required means that the field must be filled out before the form is submitted for formal review (you can Save as a draft at any time).
For the Overview card, you can designate whether you want to show the Summary field, and whether a Summary is required to submit the Request:
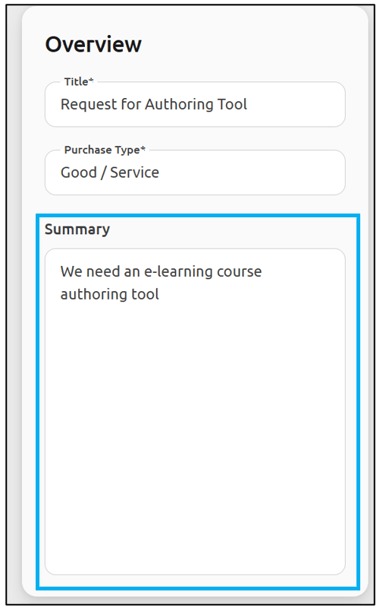
The corresponding card within the form looks like this:
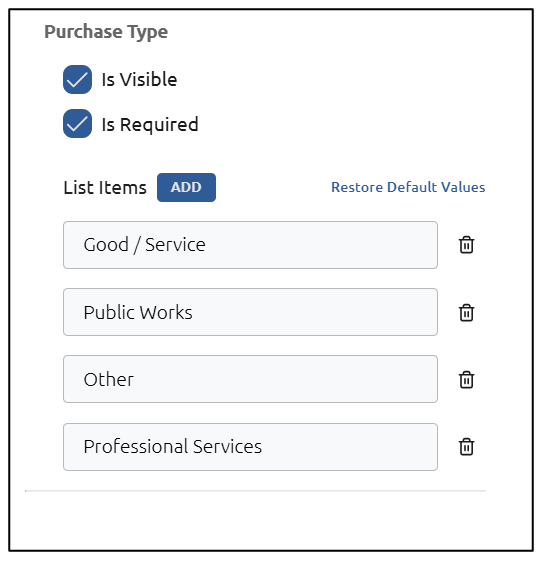
Purchase Type is also a part of the Summary Card.
You can designate whether the Purchase Type is visible in the Request, and whether that field is required to submit the Request. You will also see a list of commonly used Purchase Types to choose from:
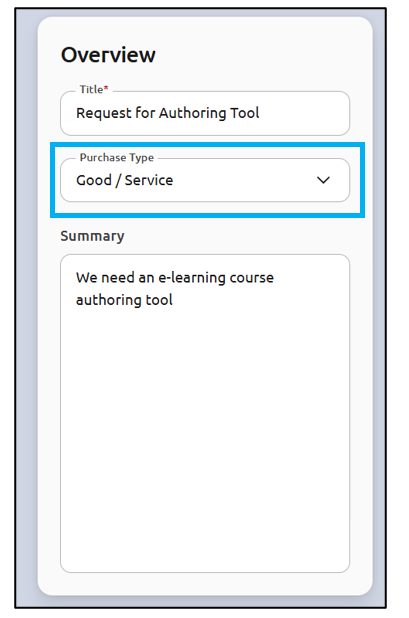
The Purchase Type appears on the Summary card as pictured:
If you would like to add a Purchase Type to the list, click Add. A blank field will appear at the bottom of the list:
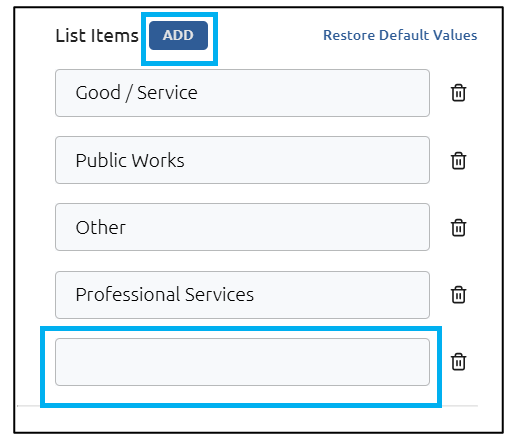
In the box, type the name of the new Purchase Type you wish to add. You can add as many Purchase Types as you would like.
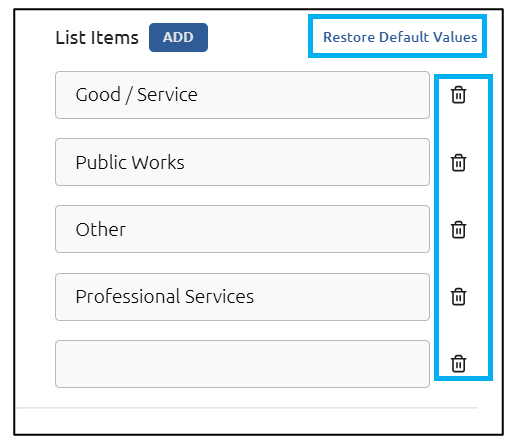
You can delete Purchase Types by clicking the trash icon to the right of the Purchase Type you wish to delete, as well as Restore Default Values. Restoring the default values will return the list to the original status and remove any added fields:
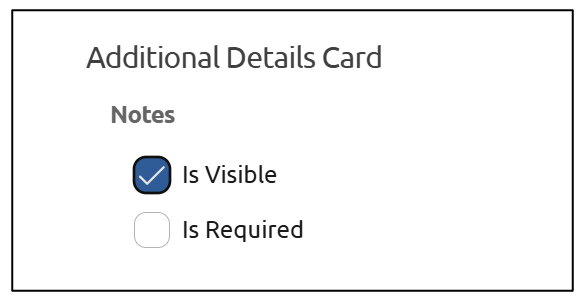
The next area that allows customization is the Additional Details card. Here, you can designate whether you’d like a field to display where a requester can put additional notes for the Request:
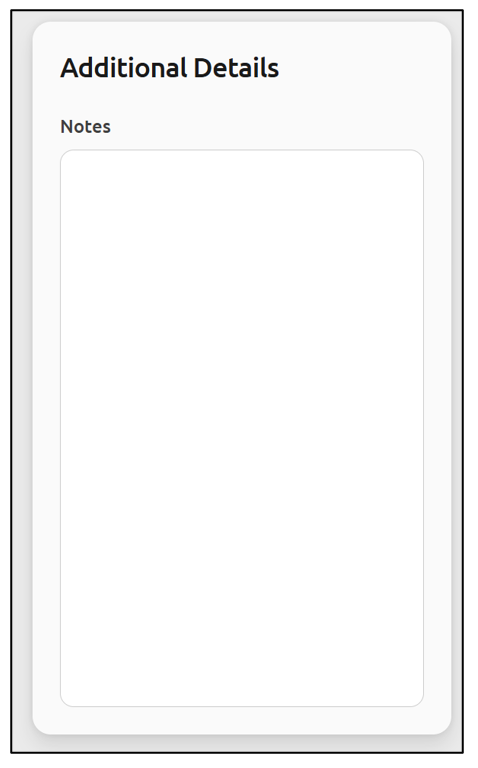
The corresponding card within the form looks like this:
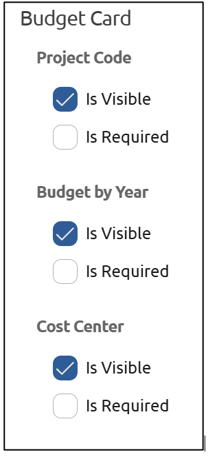
The next area with customization options is the Budget card. Here, you can designate whether the Project Code is displayed, and whether it is required to submit the Request. You can also designate whether the Budget By Year and Cost Center fields are displayed and required to submit the Request:
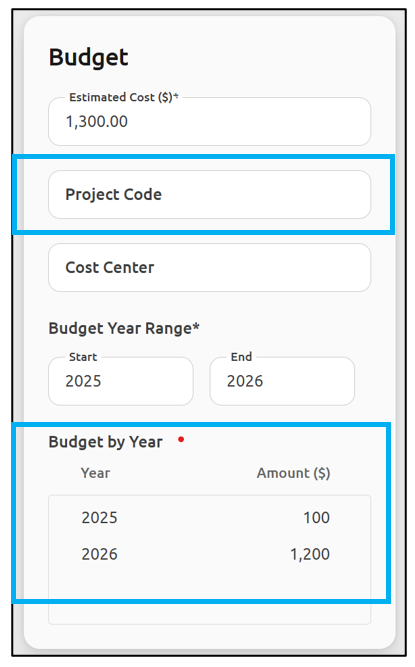
The corresponding card within the form looks like this:
You can designate whether the Cost Center is visible in the Request, and whether that field is required to submit the Request. You will also see a list of already created common Cost Centers to choose from:
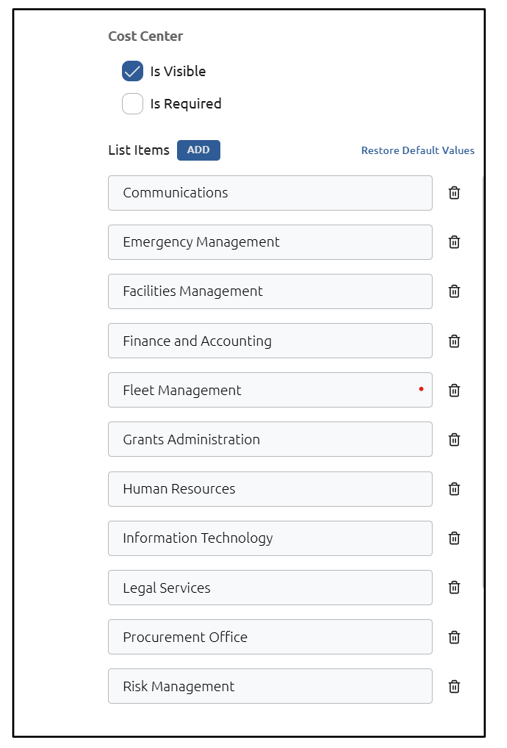
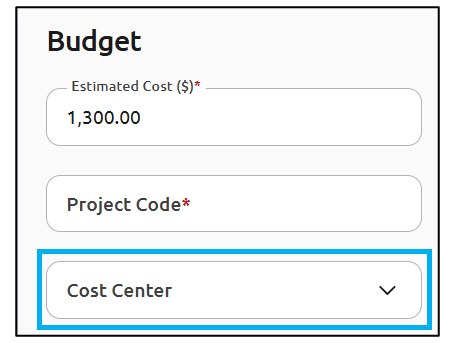
The Cost Center field is located here within the Budget card:
If you would like to add a cost center to the list, click Add. A blank field will appear at the bottom of the list:
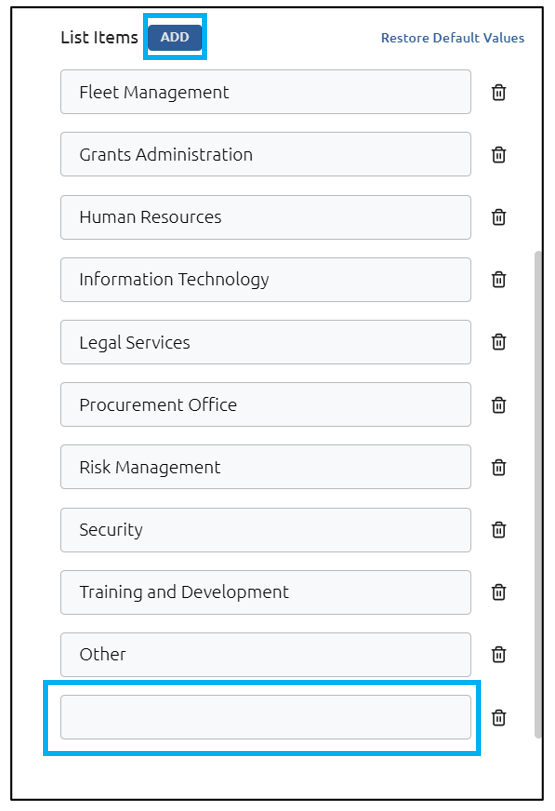
In the box, type the name of the new cost center you wish to add. You can add as many cost centers as you would like.
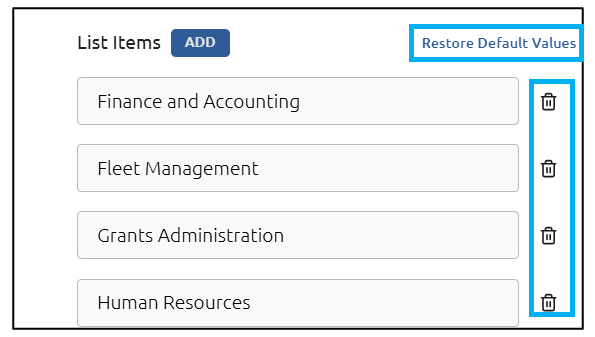
You can delete cost centers by clicking the trash icon to the right of the cost center you wish to delete, as well as Restore Default Values. Restoring the default values will return the list to the original status and remove any added fields:
Note: New Cost Centers and Purchase Types added will appear at the bottom of the pick list.
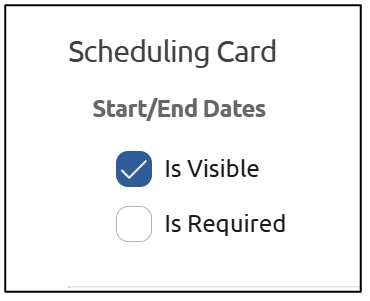
The final area with customization options is the Scheduling card. Here you can designate whether you’d like to display the Start/End date of the project, and whether those fields are required to submit the Request:
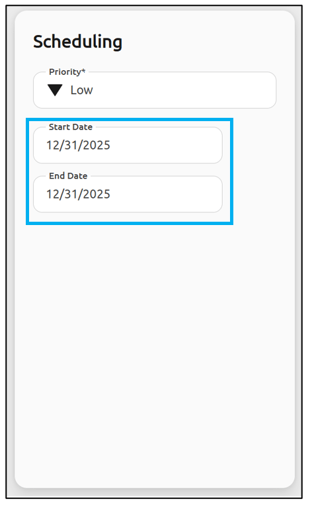
The corresponding card within the form looks like this:
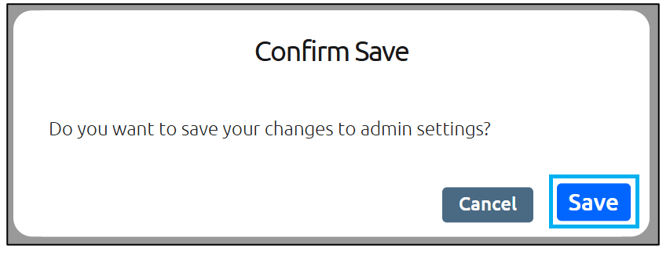
Once all your selections are made, click Save:

Confirm by clicking Save:
Your form settings have now been updated.